How to build your business on your own hosting
Your hosting company offers WPMaven. You describe your business, your AI team builds it, and it goes live on your own WordPress, on your hosting. Building and previewing are free. Going live takes a plan.
What you need
- Your hosting company’s WPMaven button, in your hosting panel, or the link it gave you.
- An email address for your WPMaven account.
- If WordPress is already installed: your site’s address, and a sign-in to it as an administrator.
1. Press your hosting company’s button
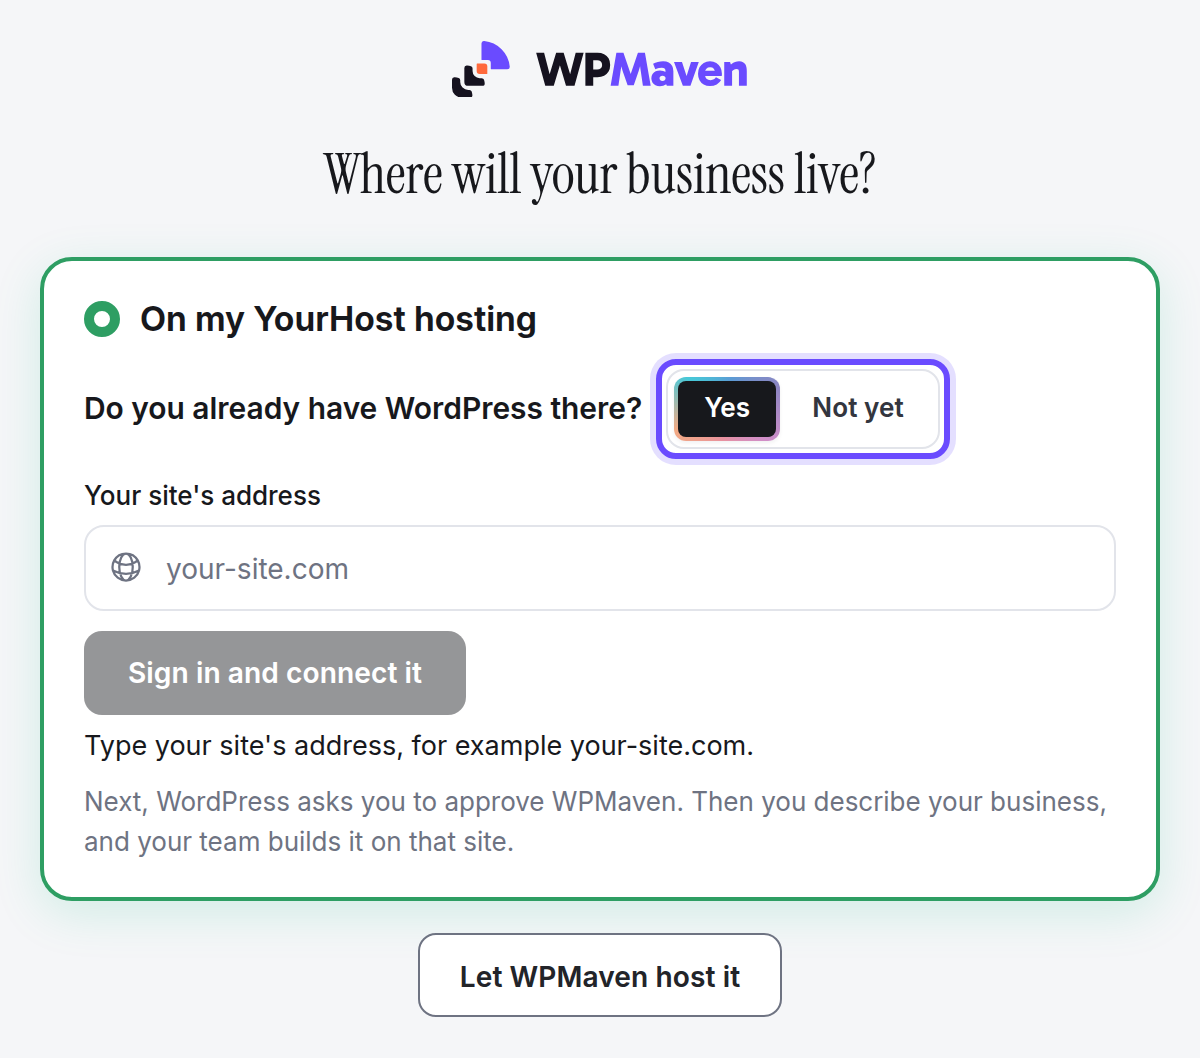
Press the button in your hosting panel, or open the link your hosting company gave you. WPMaven asks Where will your business live?, with On my YourHost hosting chosen, under your hosting company’s name. Keep it, and answer Do you already have WordPress there?
2. Connect your WordPress
If WordPress is already installed
-
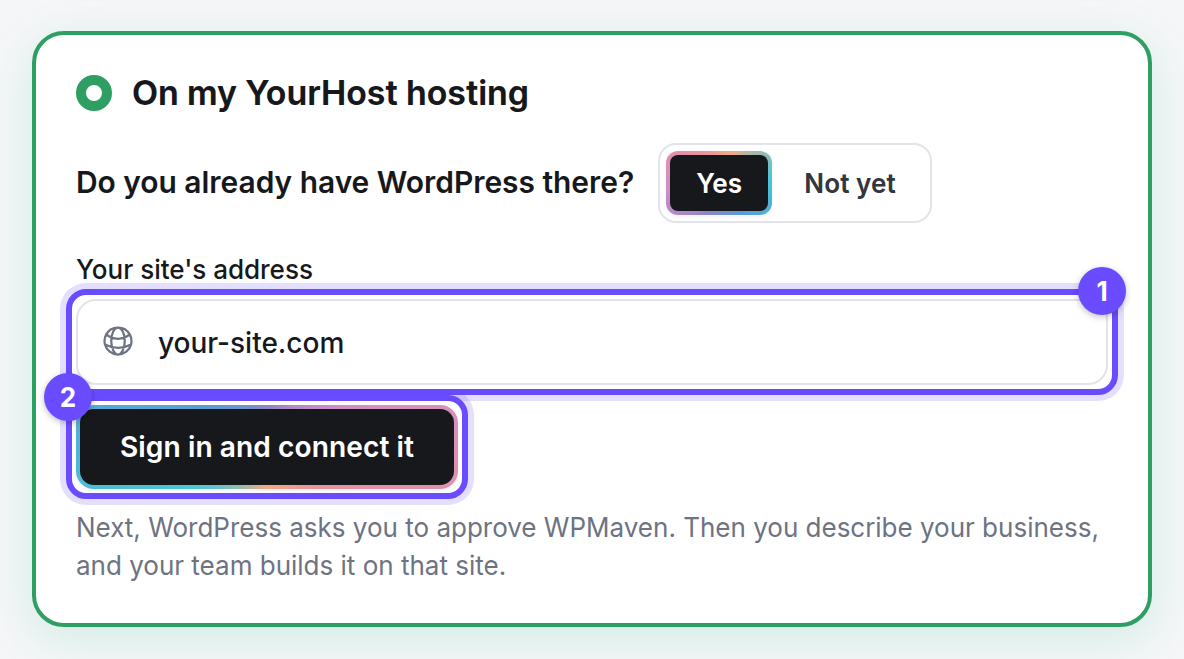
Choose Yes and type Your site’s address, for example your-site.com.
-
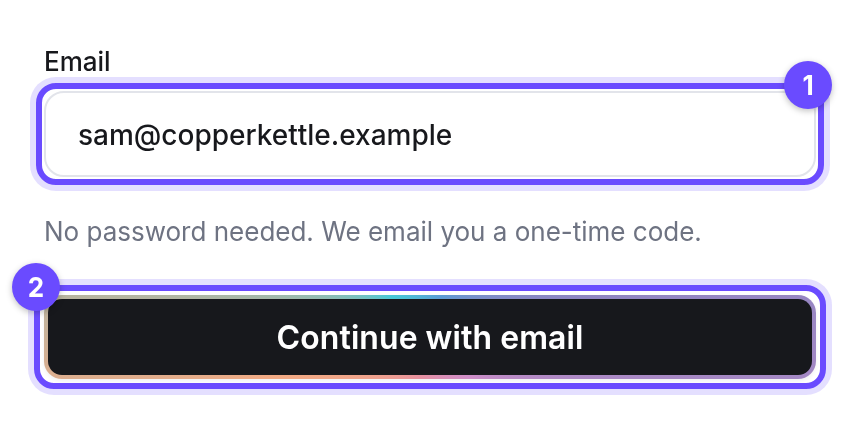
Press Sign in and connect it. Type your email address, then the one-time code you receive: if you are new, the code creates your account. Already signed in? The button reads Connect my site.
-
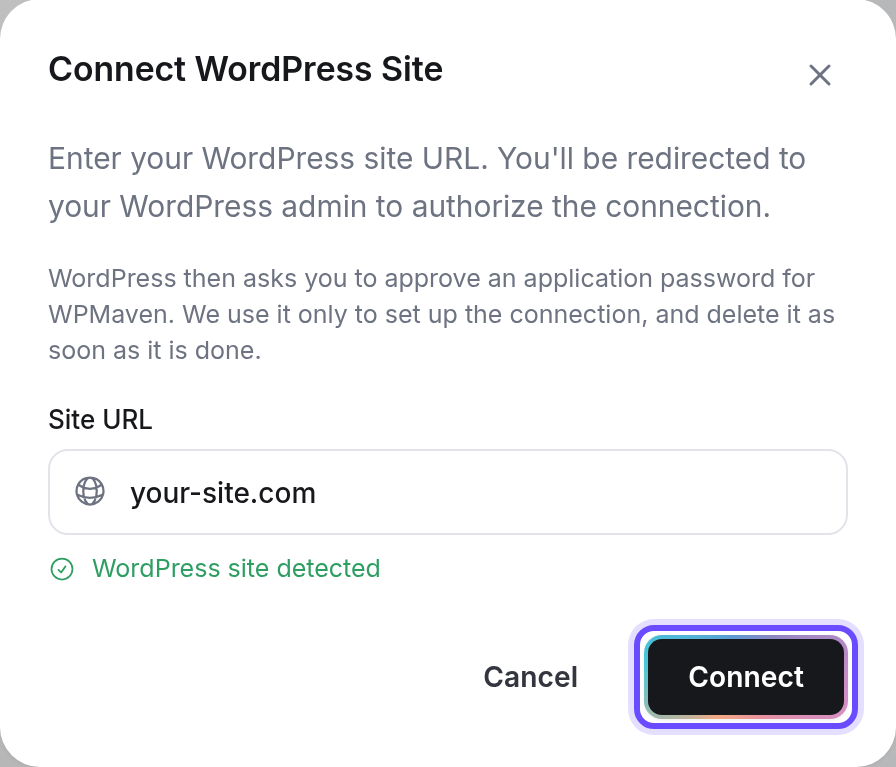
A window opens with your address. Press Connect.
-
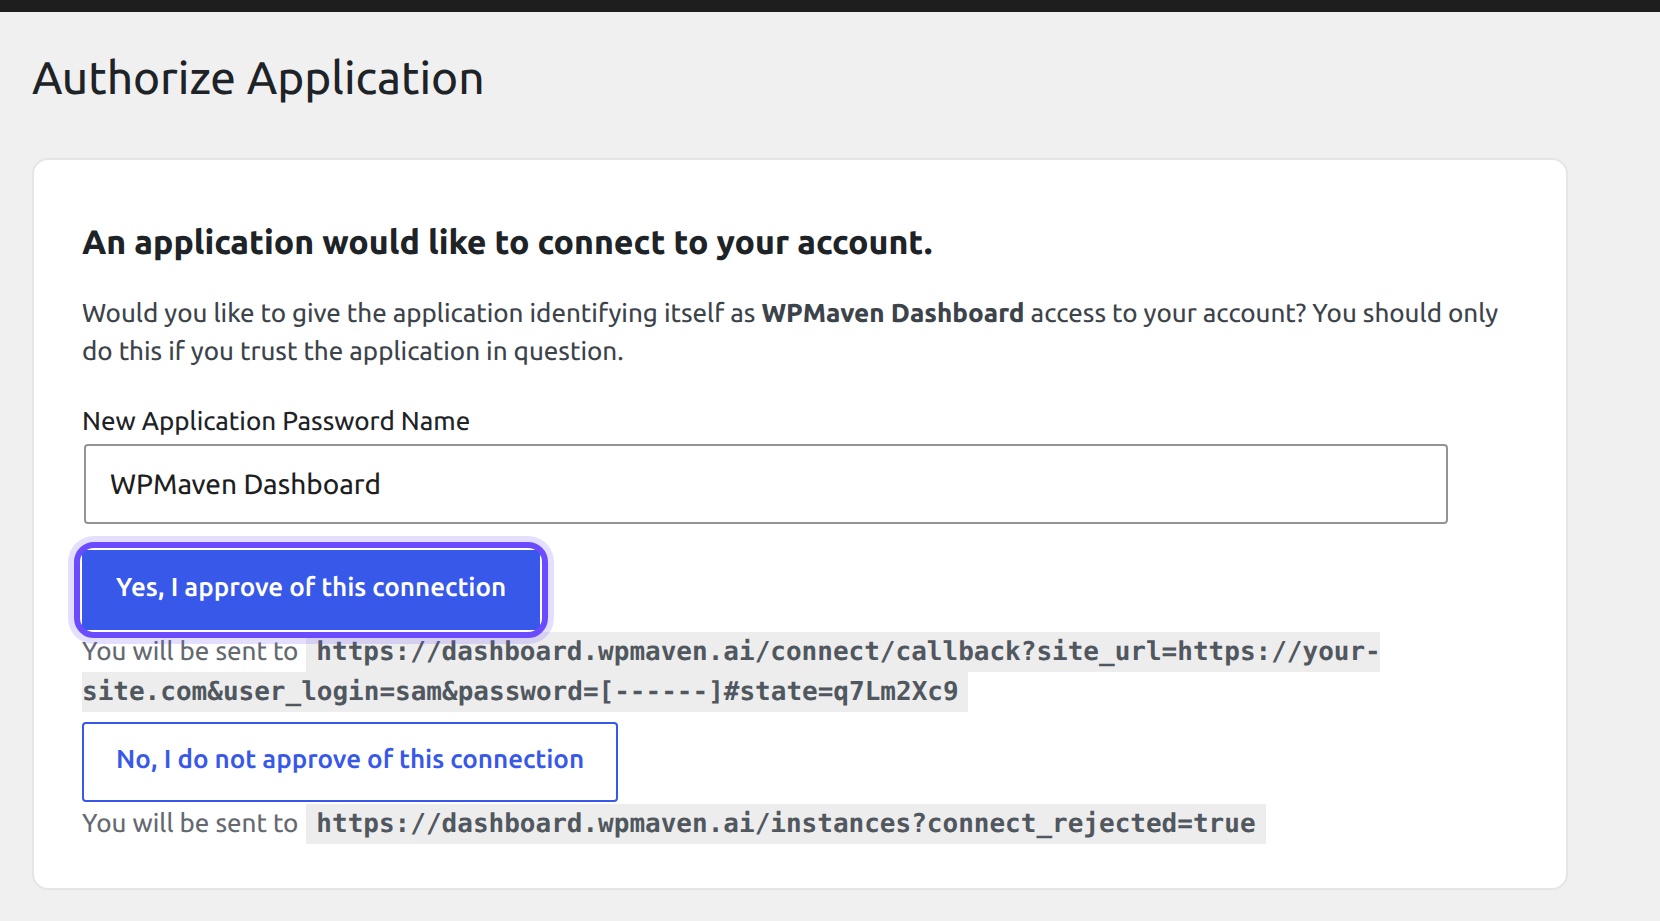
Your WordPress opens on Authorize Application. Sign in to WordPress if it asks, then press Yes, I approve of this connection.
-
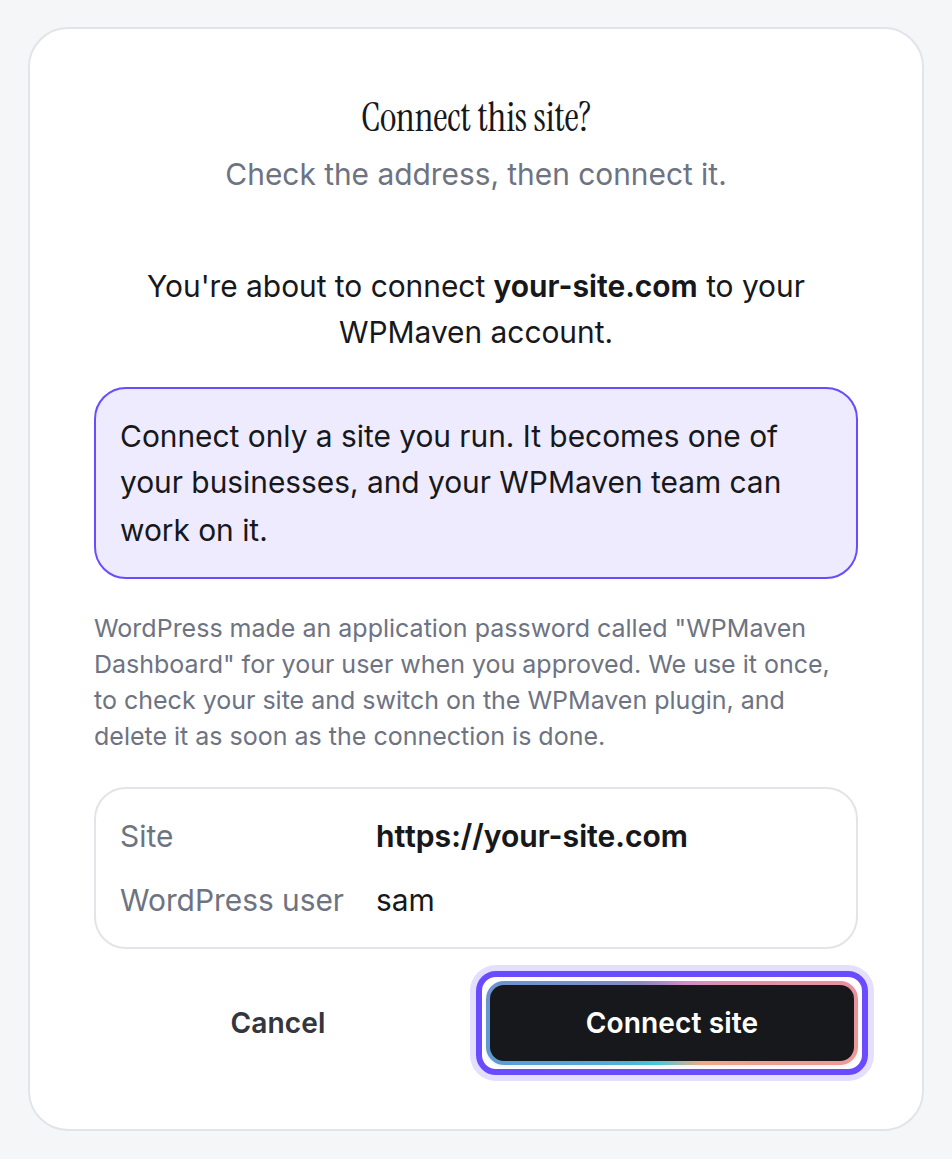
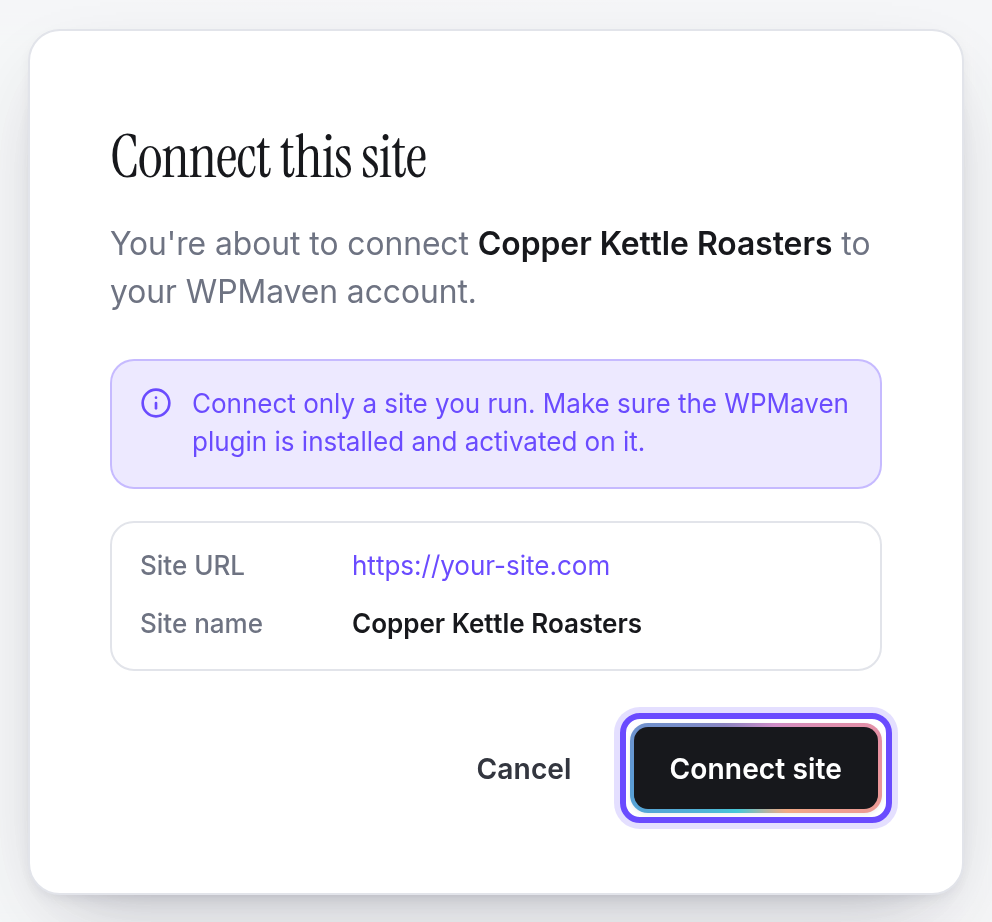
Back in WPMaven, check the address on Connect this site?, then press Connect site.
-
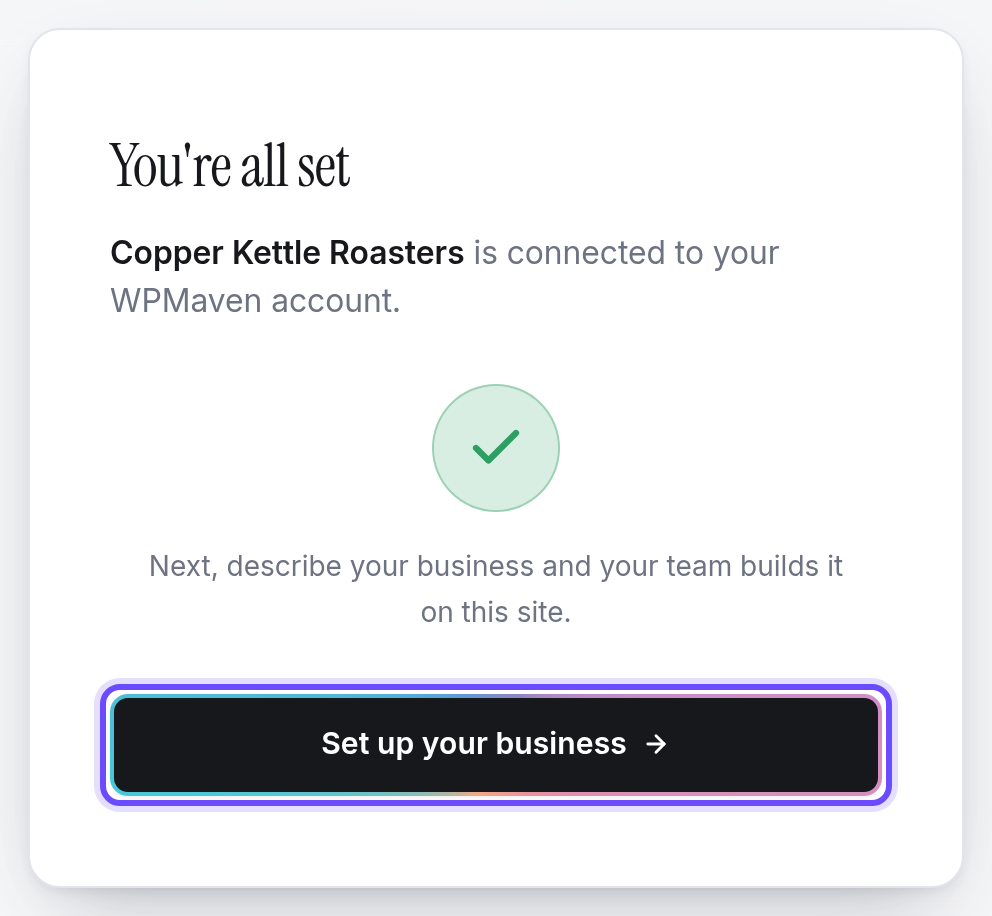
When it says Connected!, press Set up your business.
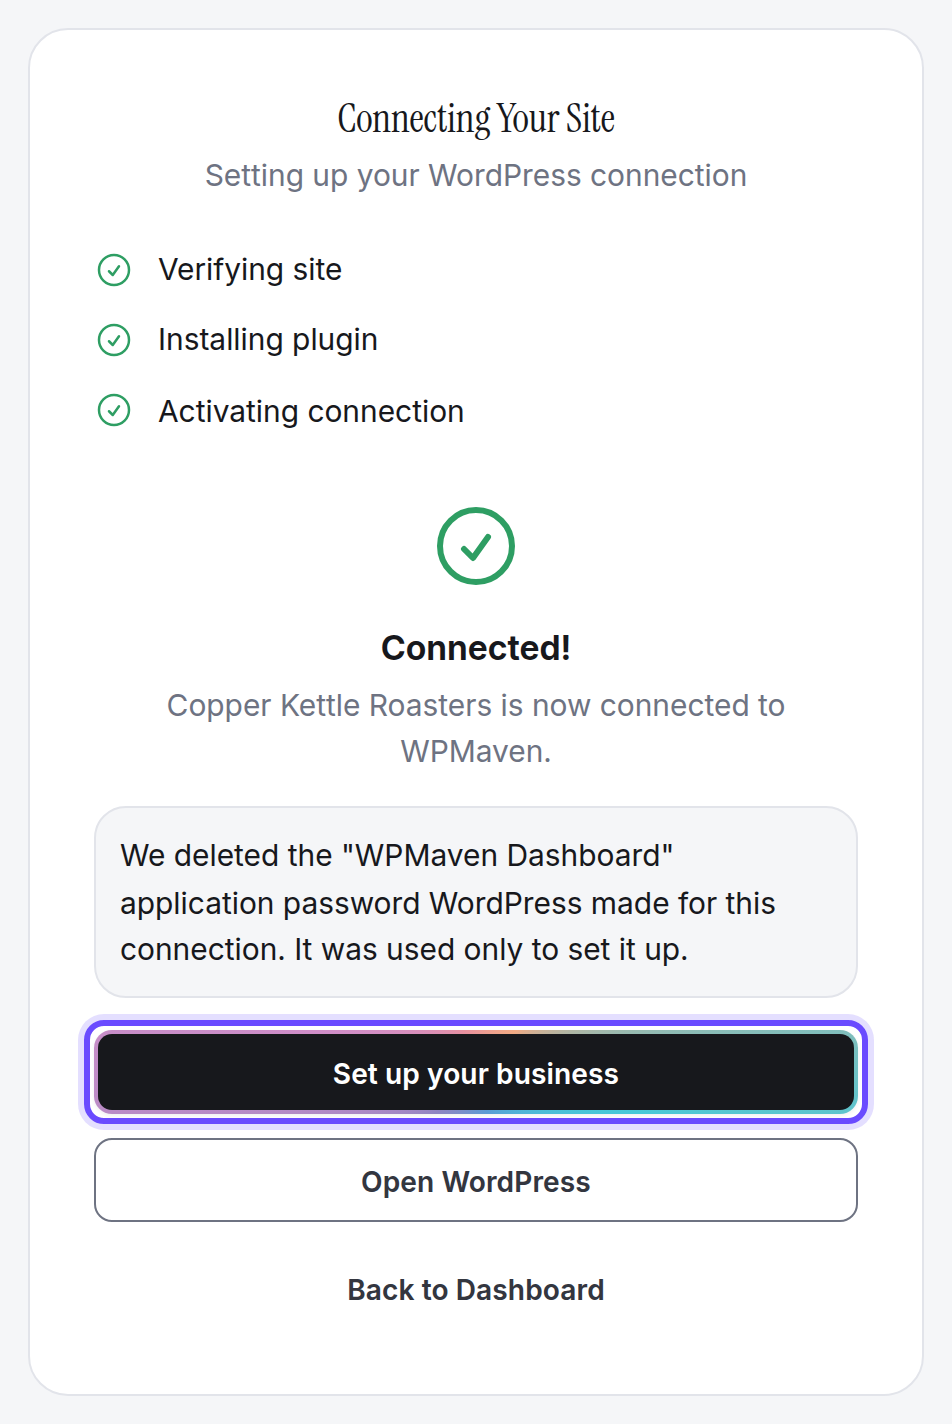
WordPress makes an application password for WPMaven when you approve. WPMaven uses it once, to set up the connection, and deletes it as soon as it is done.
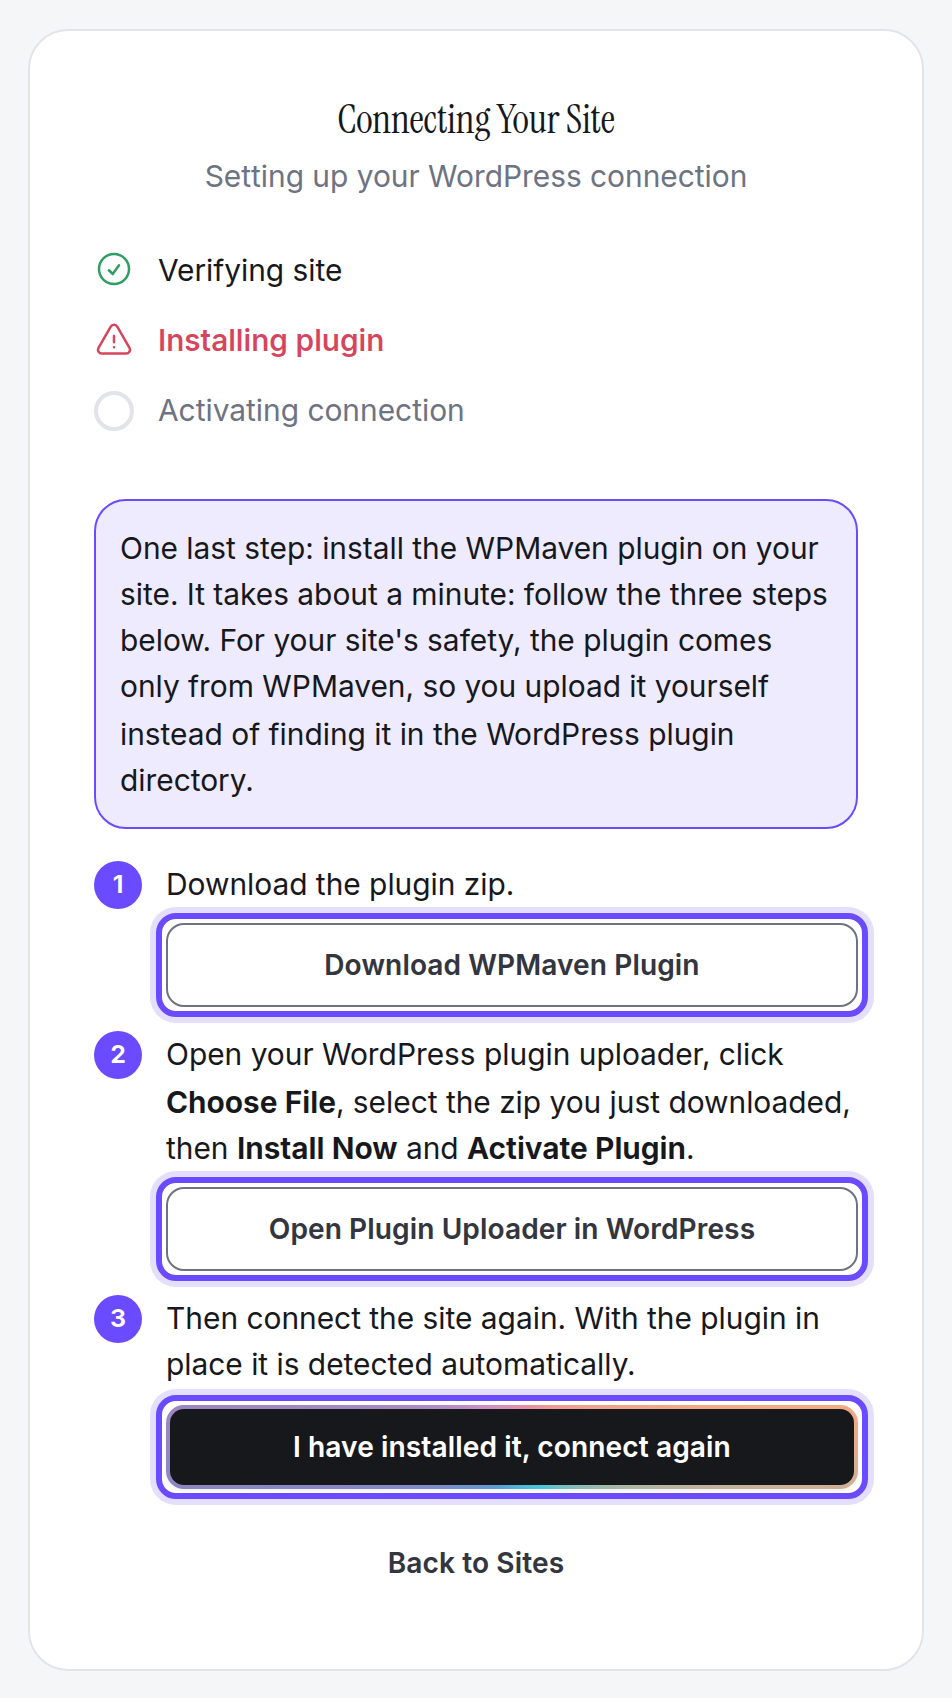
If WPMaven is not on your site yet, the page shows how to add it in three steps: Download WPMaven Plugin, upload it in WordPress with Open Plugin Uploader in WordPress, then press I have installed it, connect again.
If WordPress is not installed yet
-
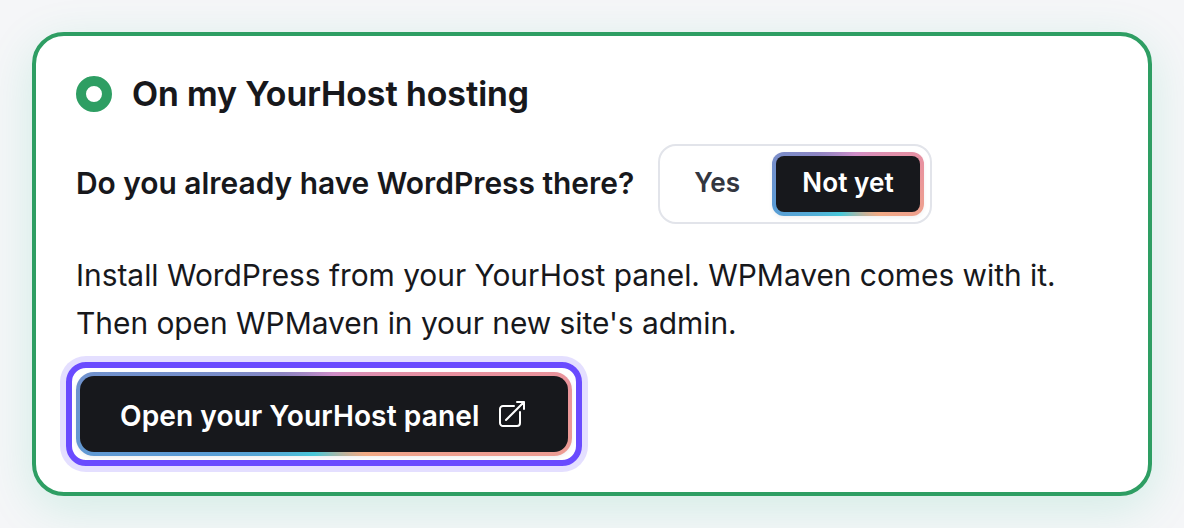
Choose Not yet. Press Open your YourHost panel, or open your hosting panel yourself, and install WordPress from it. WPMaven comes with it.
-
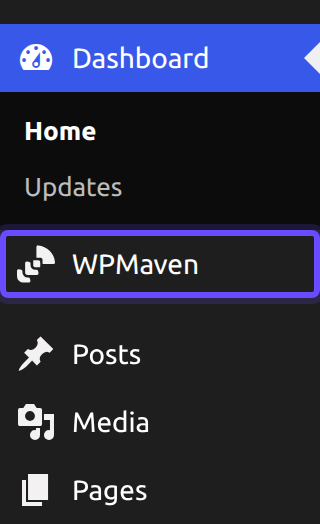
Sign in to your new WordPress and open WPMaven in the menu on the left.
-
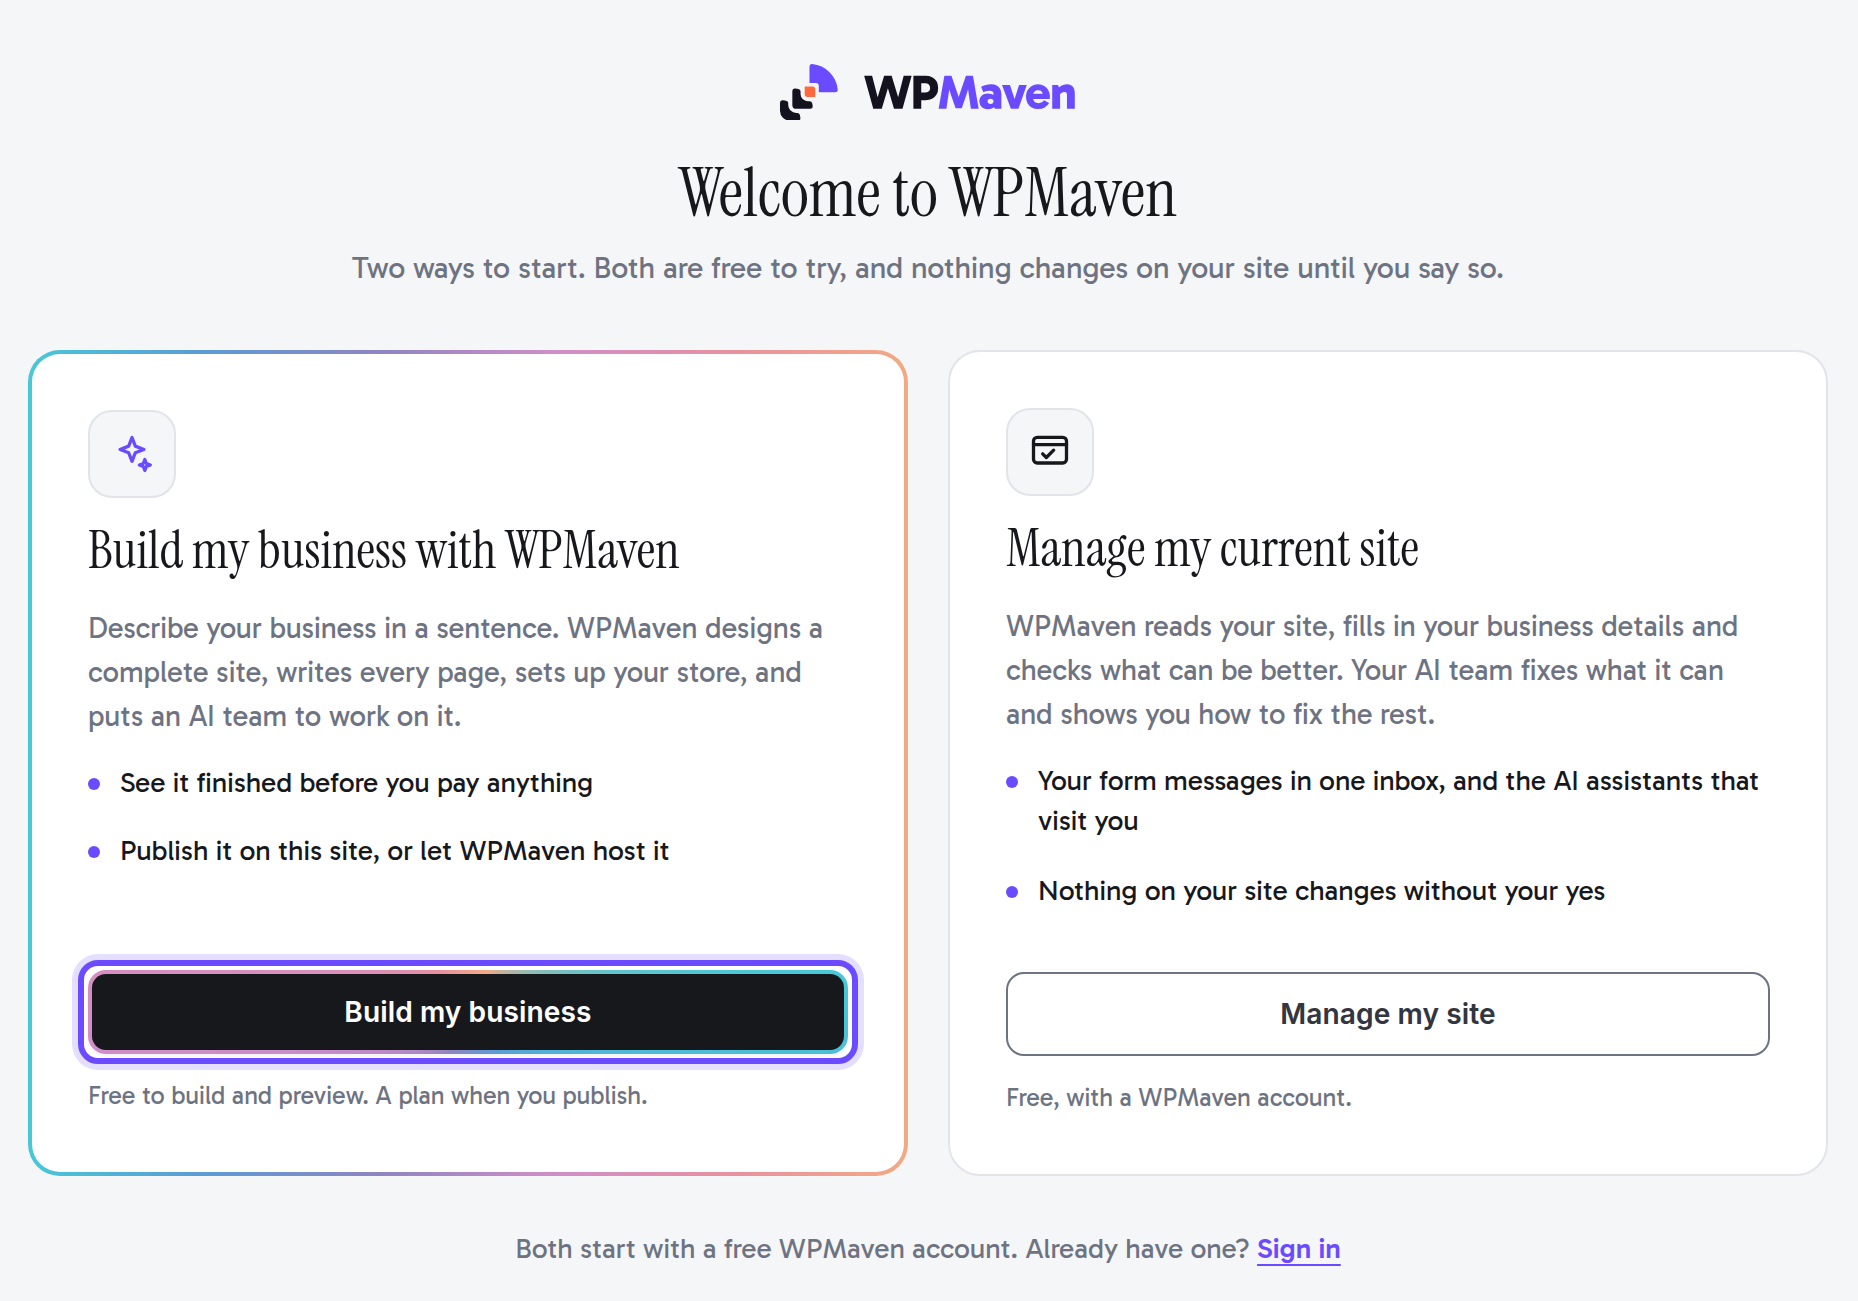
On Welcome to WPMaven, choose Build my business.
-
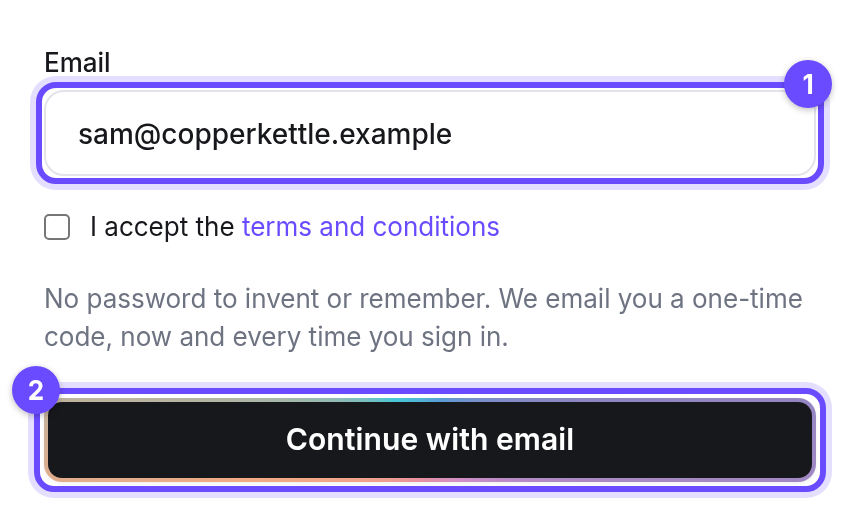
Create your account: Continue with email, then type the code you receive. Already have an account? Choose Sign in on the welcome screen instead.
-
On Connect this site, press Connect site.
-
On You’re all set, press Set up your business.
3. Describe your business and see it built
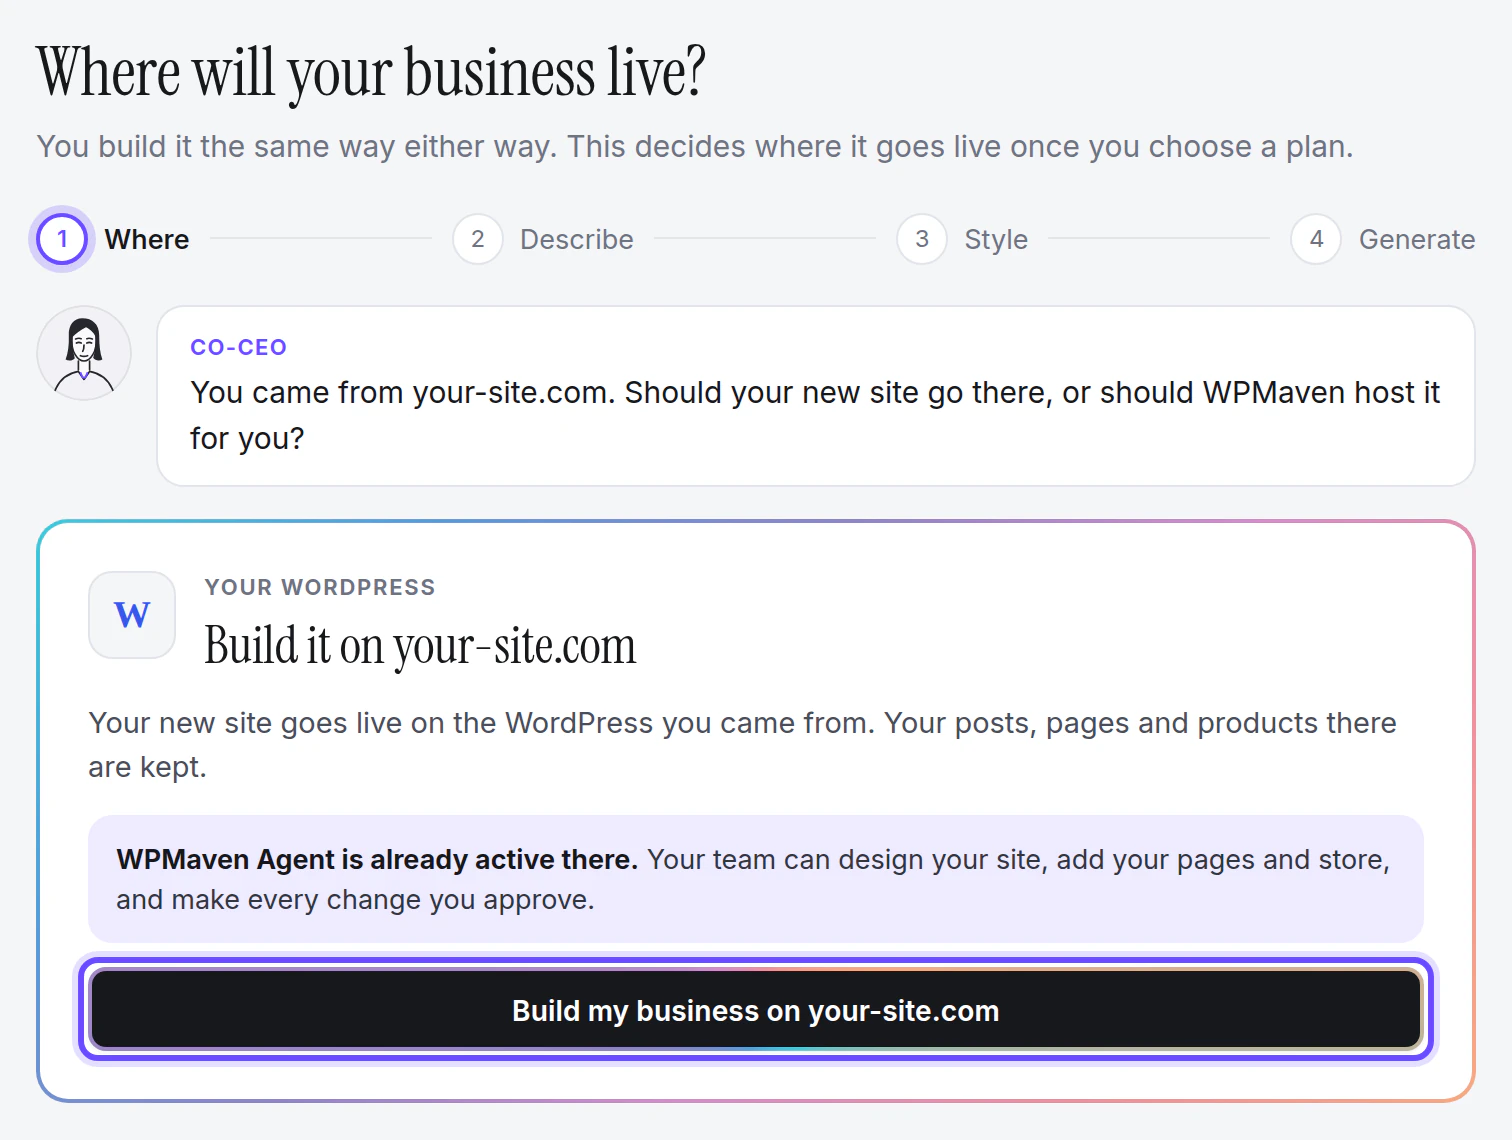
If WPMaven asks Where will your business live? again, choose Build my business on your-site.com, with your own site’s address.
Describe your business in a sentence or two: what you sell, and to whom. Your team designs your site and writes its pages, and you see the whole site in a preview before anything goes live. Building and previewing are free.
4. Choose a plan and go live
When your business is ready, put it on your site: press Choose a plan and publish, or Publish to your-site.com, whichever your screen shows.
- Launch is $39 a month, Operator $69 and Scale $129. On monthly billing, each starts with a $1 first week, one time only: one per person and per business in any 12 months. See What each plan includes.
- You pay on the next screen. Right after the payment, your business goes live on your site by itself, in a few minutes.
- The posts, pages and products already on your site are kept. Where a new page has the same address or the same name as one of yours, the build saves its own version as a draft next to yours: see If you run the setup wizard on it.
If your plan is already active, for example because your hosting company provides it, the button reads Publish now.
Your site stays with your hosting company: your hosting account, your domain and your email stay as they are.
5. Run your business with your team
- Approvals. Every change your team wants to make to your site waits for your yes under Waiting for you. See How to approve, ask for changes, or reject what your team wants to publish.
- Your weekly report. How the business did, and what your team does next: see How to read your weekly report.
- Your team. On a paid plan, invite the people who work with you: see How to invite your team and your clients.
- Payments. Billing shows your plan, your invoices and your card, and changes your plan: see How to change your plan or cancel. If your hosting company provides your plan, Billing says so, and your hosting company changes it for you.
- A bonus from your hosting company. When you pay WPMaven yourself, on Launch, Operator or Scale, you get 20 extra actions once your first full-price month is paid, or 40 when that payment is for a yearly plan. Billing shows it.
If the connection does not go through
Check that you sign in to WordPress as an administrator, and that you typed your site’s own address. Your hosting company can check the rest on its side: it has the list in What your servers need.